As an avid iPhone photographer, one of the simplest but most effective ways to elevate your photography game is by enabling the camera grid.
If you’ve ever struggled with aligning your shot or making sure your subject is positioned perfectly, the camera grid is your secret weapon.
In this blog, I’ll walk you through how to get grid on iPhone camera, why it’s so useful, and how you can use it to create balanced, visually stunning photos using the rule of thirds.
What is the Grid on iPhone Camera?
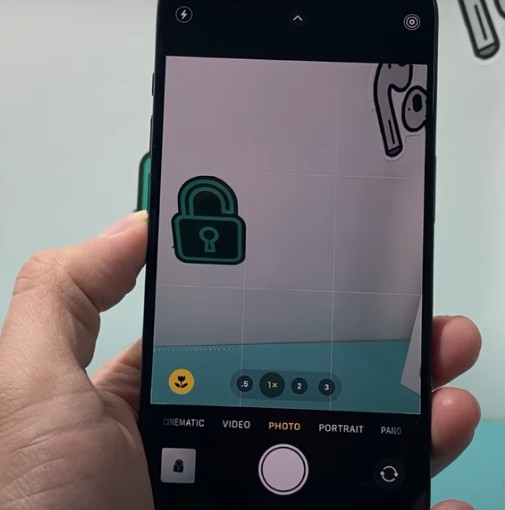
Image source – Technomentary
The grid on iPhone camera divides the screen into nine equal sections using two horizontal and two vertical lines.
This visual guide makes it easier to apply the rule of thirds, one of the most effective photography composition techniques.
When you place important elements along the grid lines or at their intersections, your photos will have a more balanced, engaging, and professional look.
Why Should You Use the Camera Grid?
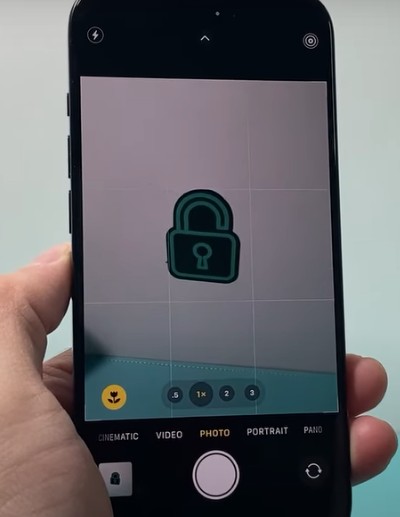
Image source – Technomentary
You may wonder, why go through the trouble of enabling a grid when you can take pictures without it?
Here’s the thing: the grid helps you achieve better composition by guiding the placement of your subject. Here are some benefits of using the grid on your iPhone camera:
- Balanced Photos: The grid helps distribute visual weight evenly across the frame, preventing your subject from feeling cramped or overly centered.
- Improved Alignment: For shots with a horizon, the grid ensures your photos are level and aligned, which is essential for professional-looking results.
- Faster Composition: Instead of manually adjusting your framing each time, the grid makes it easier to quickly compose your shot, saving you time and effort.
How to Get Grid on iPhone Camera (Step-by-Step)
Now that you understand the benefits, let’s get to the fun part: enabling the grid. Here’s how you can do it in just a few simple steps:
Step 1: Open Settings
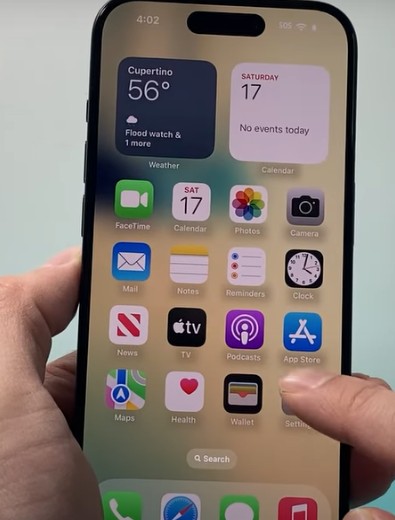
Image source – Technomentary
First, open the Settings app on your iPhone. This is where you’ll find the options to customize your camera.
Step 2: Scroll Down to Camera
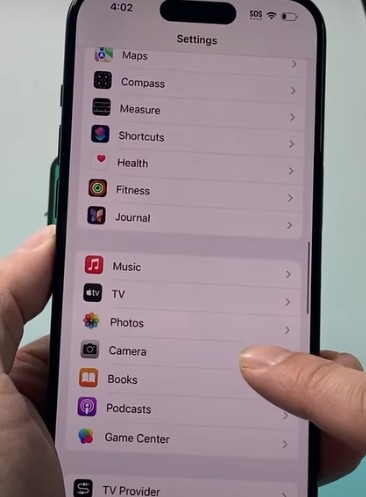
Image source – Technomentary
Scroll down through the list of settings and tap on Camera.
Step 3: Enable the Grid
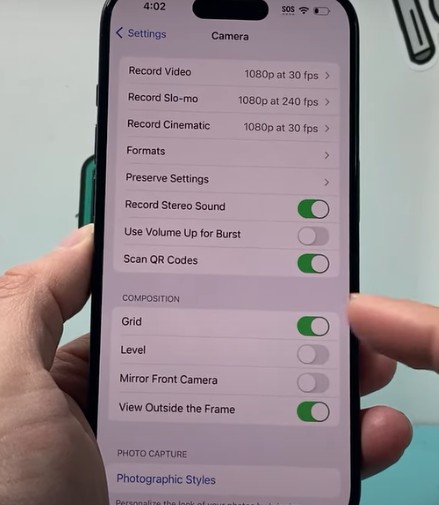
Image source – Technomentary
Under the Composition section, you’ll see an option for Grid. Simply toggle it on, and voilà, the grid will now appear whenever you open the Camera app.
Step 4: Start Shooting with the Grid
Once the grid is enabled, you’ll see the lines appear on your camera screen.
These lines are non-intrusive and won’t appear in your final photo—they are there solely to guide you while shooting.
Use the grid to position your subject at the intersections of the lines for a well-composed shot.
Understanding the Rule of Thirds
The grid is designed to help you apply the rule of thirds, which divides your image into nine equal parts.
The concept behind this rule is simple: avoid placing your subject directly in the center of the frame.
Instead, align important elements along the lines or at the four intersections of the grid. This creates a dynamic and visually pleasing composition.
Rule of Thirds Tips:
- Position Key Subjects: Place your main subject at one of the four intersections of the grid to make it stand out.
- Align Horizons: For landscape shots, position the horizon along the top or bottom horizontal grid line for a natural feel.
- Use Leading Lines: Incorporate natural lines, like roads, rivers, or fences, along the vertical grid lines to lead the viewer’s eye into the image.
- Balance Your Composition: Try to distribute the visual weight of the photo evenly by placing other elements around the subject, using the grid as a guide.
Practical Examples of Using the Grid
Now that you know how to enable the grid and understand the rule of thirds, let’s dive into some practical examples of how to use it in real-world situations:
1. Portrait Photography
For portraits, position your subject’s eyes along the top horizontal line. This draws the viewer’s attention naturally to the most important part of the photo.
2. Landscape Photography
When capturing landscapes, use the grid to align the horizon line. Positioning the horizon along the top or bottom grid line creates a sense of balance and allows you to highlight either the sky or the ground, depending on what you want to emphasize.
3. Street Photography
In street photography, you can use the grid to position moving subjects, like pedestrians or vehicles, along the vertical grid lines. This creates a sense of movement and leads the viewer’s eyes through the scene.
4. Architectural Shots
For architectural photos, place the building’s edges along the grid lines. This helps maintain a sense of order and symmetry, which is crucial for architectural photography.
Take Your iPhone Photography to the Next Level
Learning how to get grid on iPhone camera and using it effectively is one of the easiest ways to improve your photography skills. The procedure is the same whether it is iOS 18 or the latest iOS 26.
By enabling the grid and applying the rule of thirds, you’ll be able to compose your shots with greater ease and precision.
Whether you’re shooting portraits, landscapes, or street photography, the grid helps ensure your photos are balanced and visually appealing.
So, the next time you grab your iPhone to capture that perfect shot, remember to enable the grid. It’s a small feature that can make a big difference in the quality of your photos.
Feel free to share your best photos or ask any questions about iPhone photography—I’m always happy to help!